Sunday 8 December 2013

What will be shown to the School children when 
they come visit to see what we have done with their 
drawings. 
If I have time, I will do my animation again to make it smoother, however, our deadline is pretty soon, so this is what I have so far.

Thursday 28 November 2013

Thursday 21 November 2013

Finishing off the set and puppet

Finishing off the set and puppet
 Background:
There is one T.V wrapped in felt, two wrapped in foam, and the three grey ones are simply pained.
 The plug sockets.
For these I used cardboard and pipe cleaners.
 I re-painted the legs so that they look like remote controls. This picture shows the paint still drying, and the photo below shows the exact colours that I used.

Plugging in the robot.
I attached a piece of wire to the back of the robot and glued a drawing pin to the other end of the wire, and then wrapped the wire in blue thread.
Then I simply pushed the pin into a piece of cardboard that I glued to the set as a socket.


Wednesday 20 November 2013

Building the set

Building the set
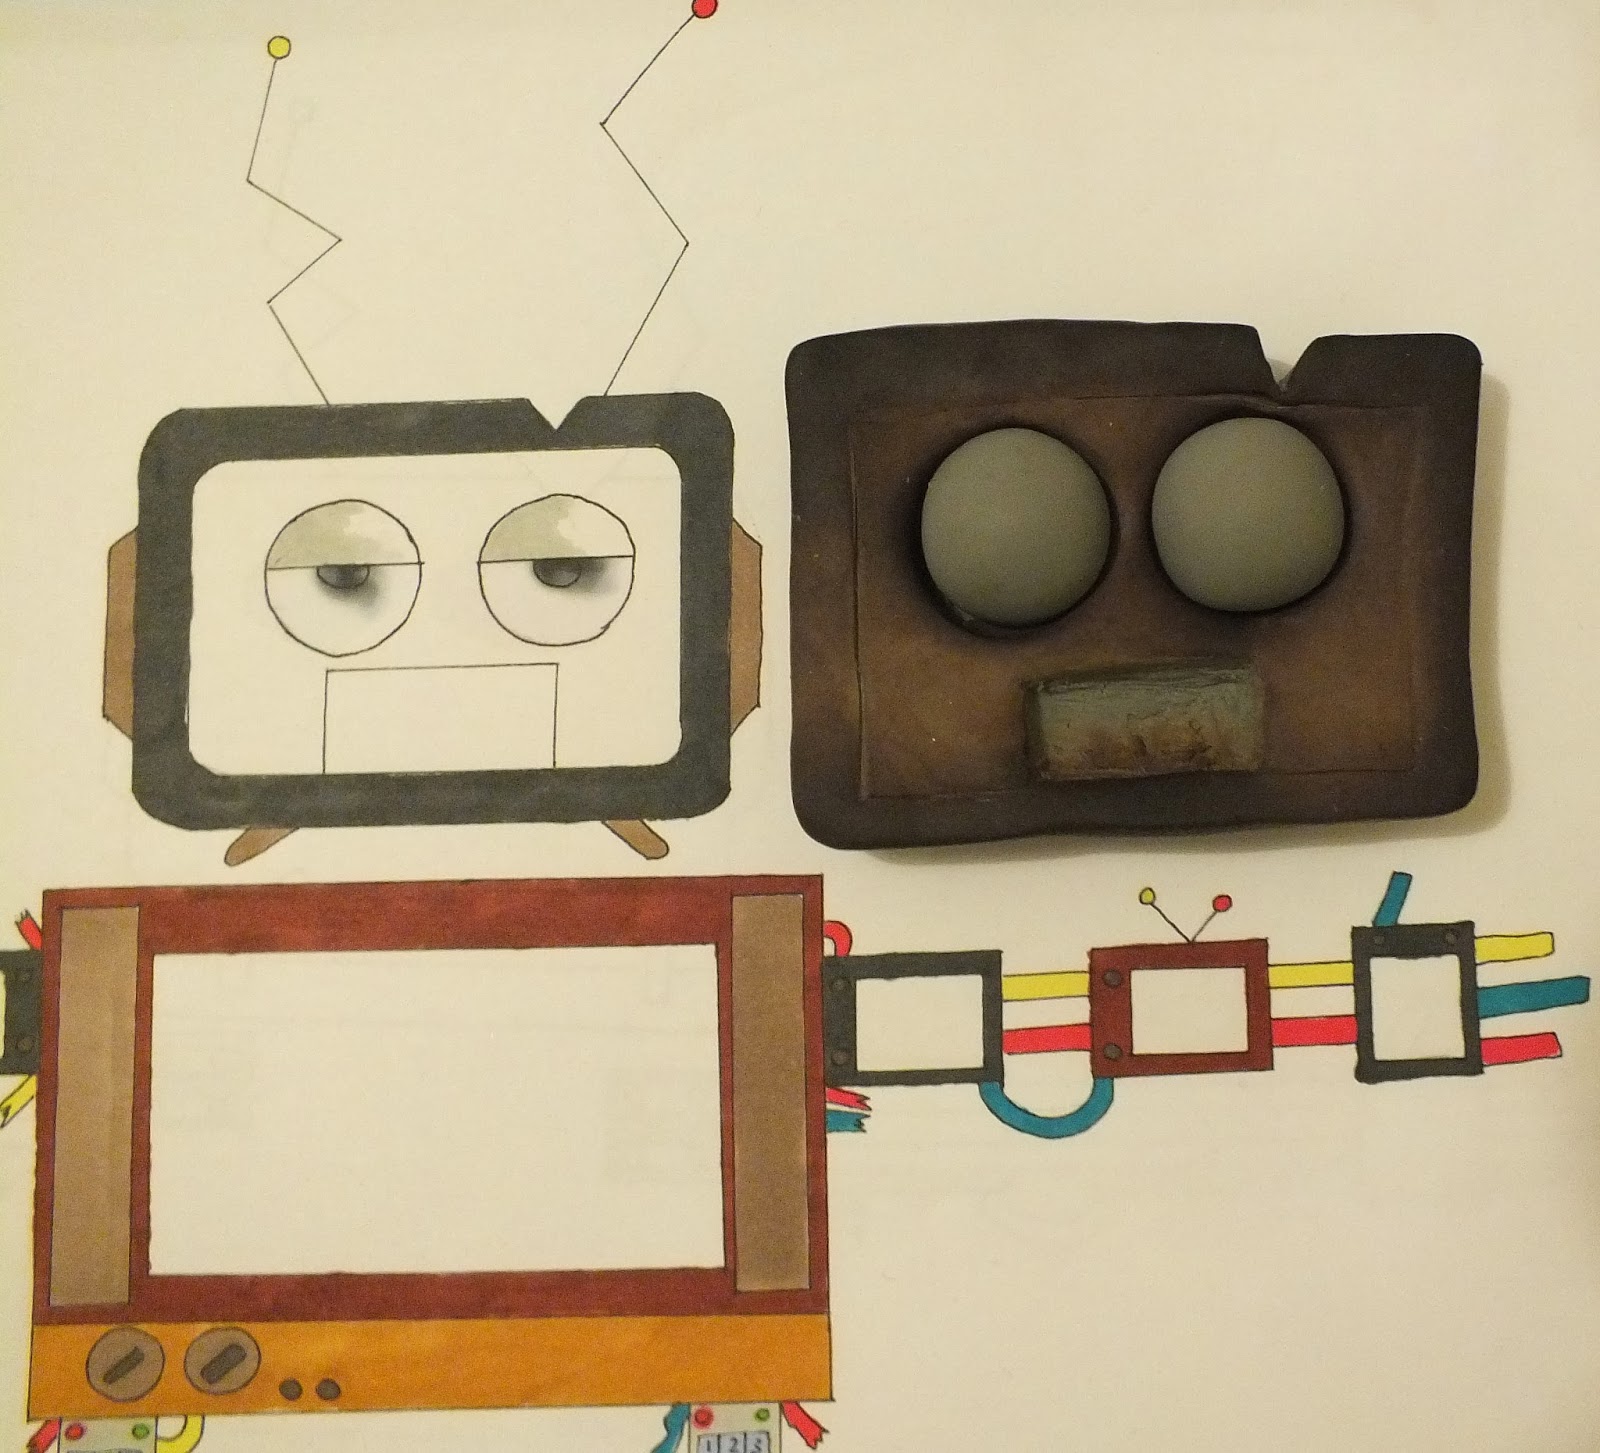
 I've decided, after much thought, that the set for my robot shall be a second hand television shop. I had considered a living room, a scrap yard and an office.
So choosing to set the Robot in a T.V shop required me to make a few T.Vs to go in the background.
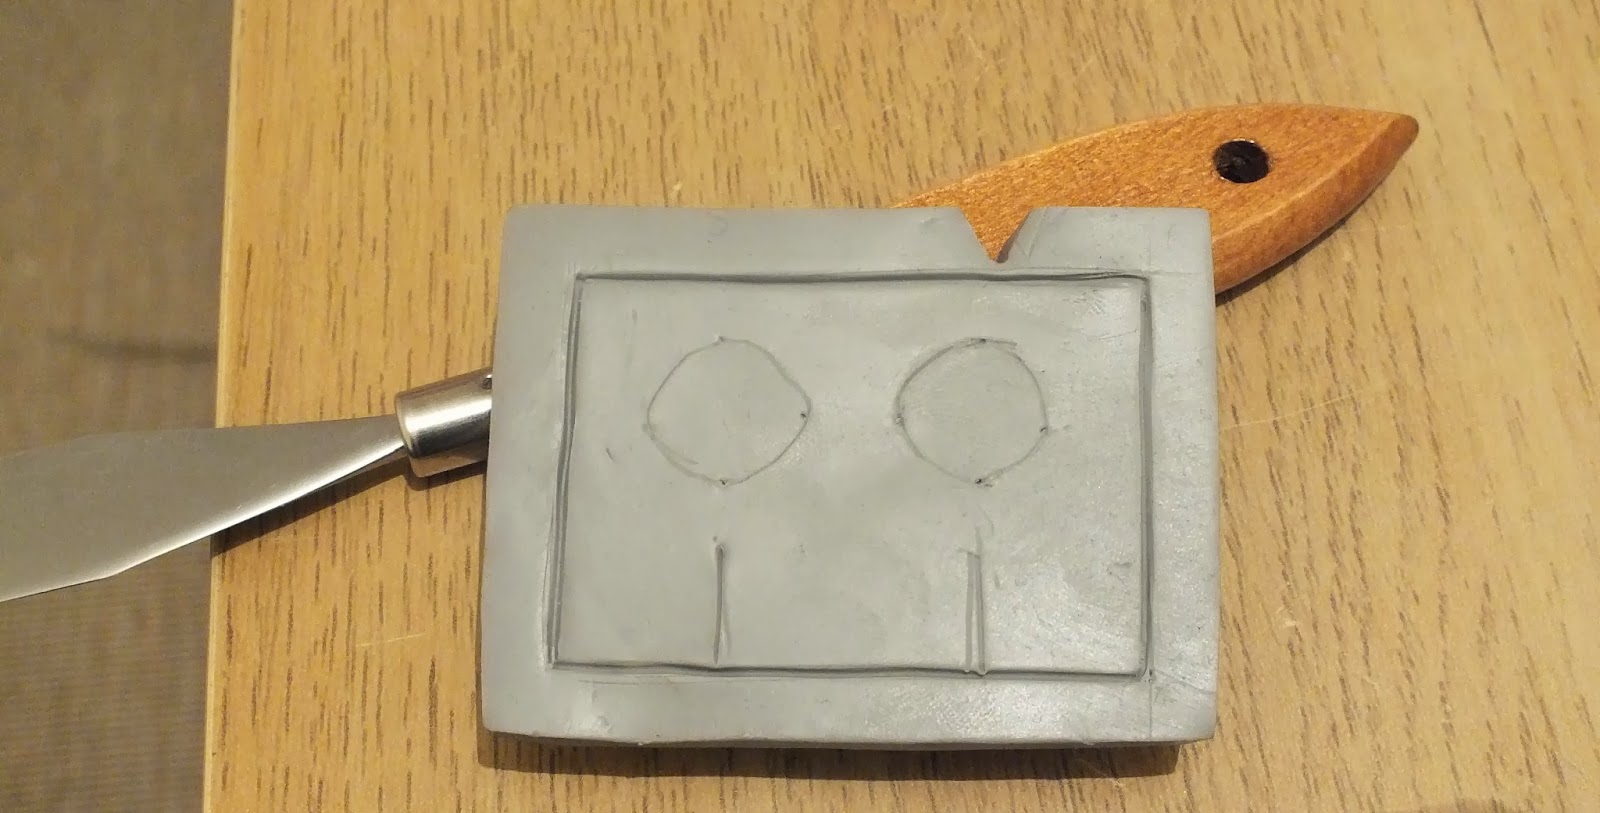
I made them from cardboard, felt, foam and paint.
This photo shows me gluing some felt to the cardboard, using all purpose glue.
 I chose to make six different size T.Vs
 Resizing the set and using coloured paper as the background and flooring.


The sign for the second hand t.v store is meant to look cheap and hand made


Monday 18 November 2013

Sculpey mouth pieces.
there are ten.
 Painted using 'Lemon yellow' colour paint.
The finished mouth pieces. 

Sunday 17 November 2013

I then used felt to wrap about the body, gluing it to the front and back, but leaving the sides lose.
 I found some tiny bolts that I thought would look good as buttons.
The back of the robot. For now I've used pins that hold well because of the balsa wood that I glued to the card to make it stronger. Using the pins for now means I can still take the robot apart id needed.
Foam and card board.
I can honestly say I'm making is up as i go along and may end up changing this is the future, but seeing as i want to be able to take the robot apart if something goes wrong, this idea seemed like a good one at the time.

 I've used glue to attach the card board hinges to the body.

I finally decided to cook the sculpey head, and I burnt it. This was accidental, but I like the effect it has had.
This picture is just to show the mould against the drawing. 

I have painted the eyes white, I tried to do this by rolling the eyes around in a container with white paint. 

The robot body so far.
I have painted all the little TVs with acrylic paint, and used thread to wrap around the visible wire.


 I'm not sure if I like the fact the little TVs aren't straight. I did try and make them as square as possible, but it was harder than I thought it was going to be. However, the fact that they aren't as cubic as they should be gives a sort of childish effect, which in this case works well as the puppet is based strongly on a child's drawing.
The colours used to paint the robot

Friday 15 November 2013

 I used coloured thread to colour the wires so they look like the connector colour used in technology.
Also because they were the colours used on the original kids drawing,

Armature so far

Thursday 31 October 2013


Using Milliput I started to make the little tv's that will make the arms and feet.
Just a reminded of the rough armature plan 


Thursday 24 October 2013

Starting to build the robots head

 Using Super sculpey firm, I moulded the head and cut out space for the eyes.

I also used the same material to make the eyes.

I baked the eyes for 15-20 minutes in the oven at 180 degrees, but decided not to bake the head yet, as when I cut out space for the eyes it changed the shape of the head slightly, so at the moment it is not as square as it should be. So I have choose to leave the head for now and continue with the body.

Stage two

Using two part epoxy glue, I glued the electrical joiners to two washers and a piece of card (which I will later strengthen)

Once the glue was dry I used milliput to strengthen the bond between the metal washers and joiners and the card.
I also used milliput to make the 'remote' part of the legs.
 I took the wire out of the joiners when I put the milliput around the joiners because I didn't want any of the milliput going onto the wire. It's the wire that needs to be detachable.
I attached washers to the bottom of the legs, with epoxy glue, to then build the feet on top of.
So far so good, the armature stands well on its own.
 Stage one of building the robot.

I cut off the plastic casing of electrical joiners, which I am going to use to join the limbs to the body, so that they are detachable if any anything were to brake and need fixing with out having to re-make the whole puppet.
 For the arms I am going to use two joiners, because there will be two wires running through the arms, and only one for each of the legs.
I used a drill to twist four pieces of wire together which will be used for arms and legs.


Then I used a screw driver to secure the wire into the joiners.