|
| I bought some strips of metal with holes in to screw the two pieces of wood together. I had originally glued the two pieces together and used milliput to fill any gaps, however, this was not strong enough. |
 |
| After screwing the two pieces together, I placed the wood on the turn table. I had planned on buying a turn table from ikea for £5, but my mum said I could use the marble one we had at home, which works in my favour for two reasons. Its stronger, and saved me money. |
 |
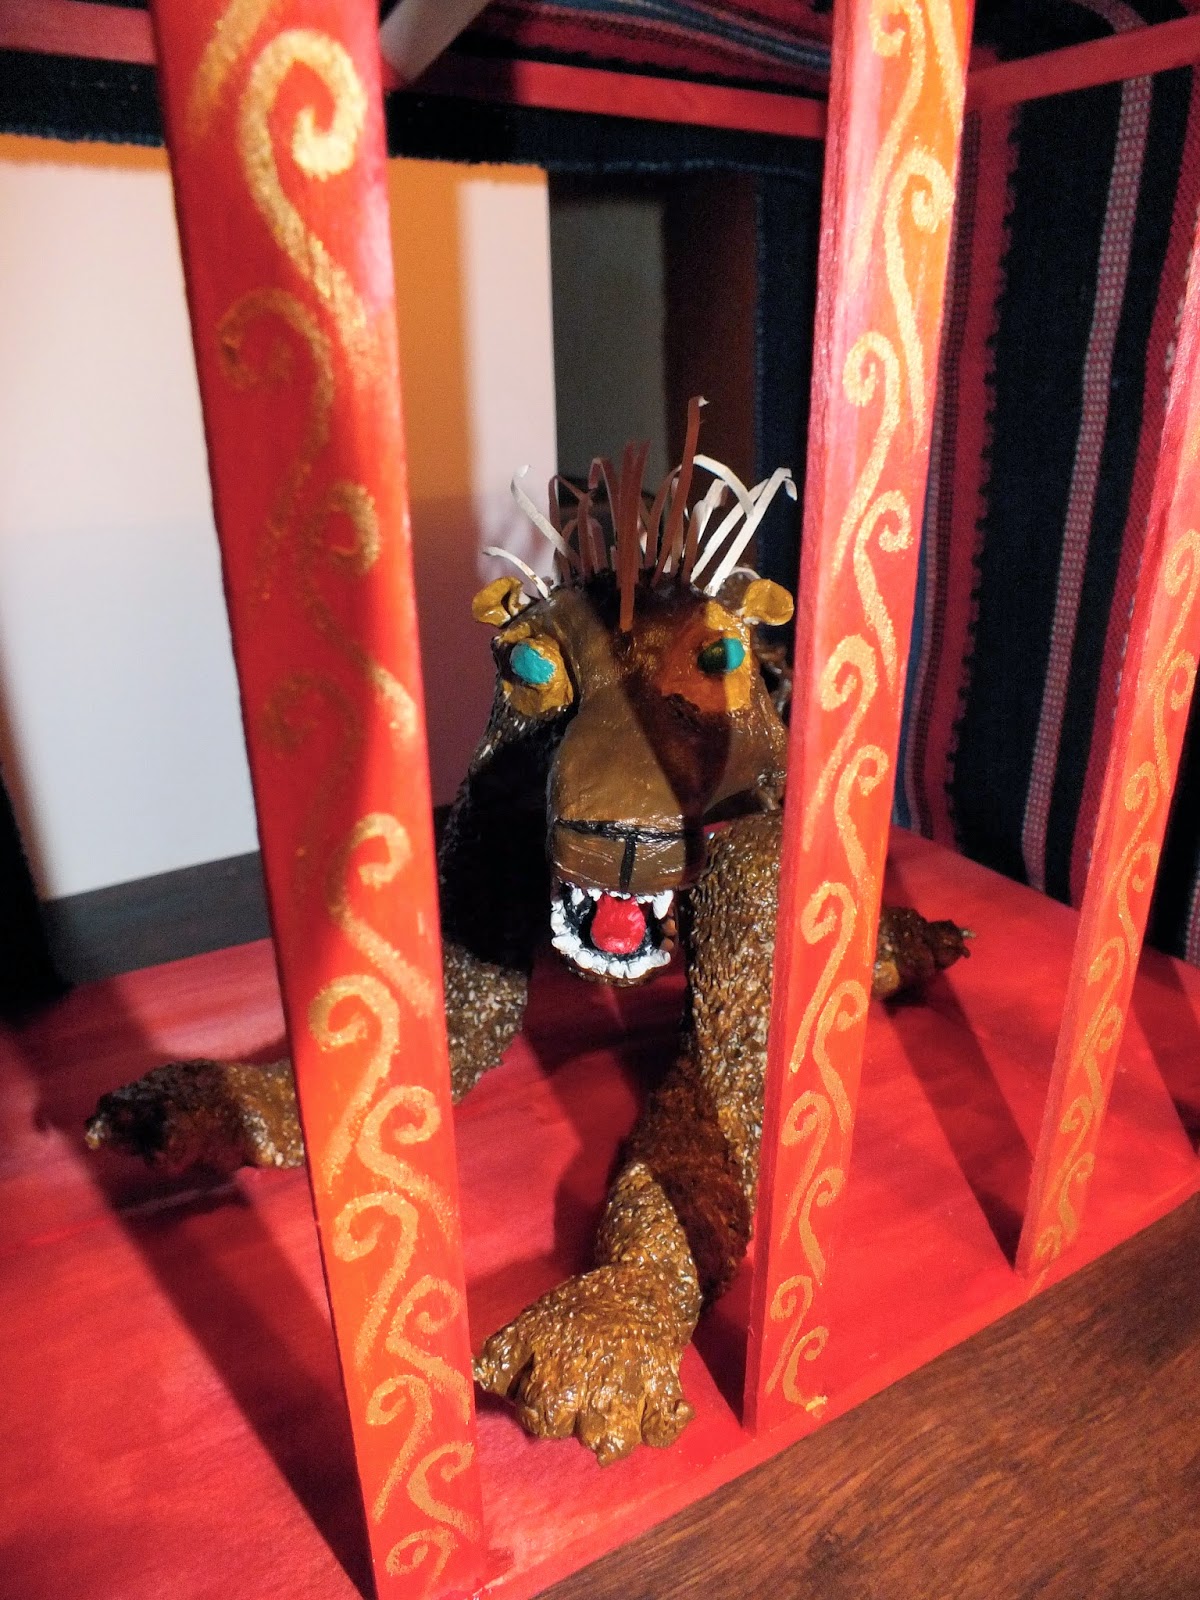
| This picture shows the lion and my props on the set. I just wanted to see how things were looking and how well the wood balanced on the turn table. |
 |
| The foam board balanced in the middle, again just to see how things were looking. The platform for the bearded lady needs to be finished and the foam boarded decorated. Im also not sure of the material on the outside at the moment. I think there needs to be more material to work with. |
 |
| Same picture, different angle. |
 |
| Same picture, but the animals side of the set. |
 |
| Here I have taken the middle divider out to finish, and added hay to the flooring of the Lions scene. |
 |
| I've decided to use material to decorate the foam board. I'm using any material I can find in the model room, that I think works well. |


 |
| I was very lucky to find this lovely red material which works great. I have attached it to the foam board using just pins. |
 |
| Found some great fabric books (those example books of materials you can choose you sofa/curtains to be made from) |

 |
| Add caption |
 |
| I threaded wire through the red material so that I the material has shape and can be manipulated. |

 |
| The red fabric is just pinned in place, but I think this is finally starting to look like something I am happy with. (Sneaky peak of my unfinished puppets to the side there.) |


 |
| The Lion's side of the set. |